
Pet photography is one of the most challenging forms of photography. Whether trying to snap pictures of your playful puppy, majestic cat, or colorful parrot, capturing a pet’s personality requires patience, creativity, and some technical know-how. If you are just starting out and looking for an essential photography guide, don’t worry. In this blog, we will provide a complete guide to creating a heartwarming and professional-quality image that owners ( and pets) will cherish forever. So, let’s begin.
Here are some guides and tips for Pet Photography for Beginners
Understanding Your Subject
Before you even pick up your camera. It’s essential to understand the behavior of the pet you are photographing. Every pet has a unique personality and quirks. Spend some time observing them. How they move, and what catches their attention. And their comfort level with being photographed. This not only helps you to anticipate their actions but also makes them more relaxed around you.
For example, a hyperactive dog may need some playtime to burn off energy before a photo session while a shy cat might need some space and time to warm up. Understanding the pet’s temperament will make the process smoother for both you and your furry subject.
Gear and Settings: Keep It Simple
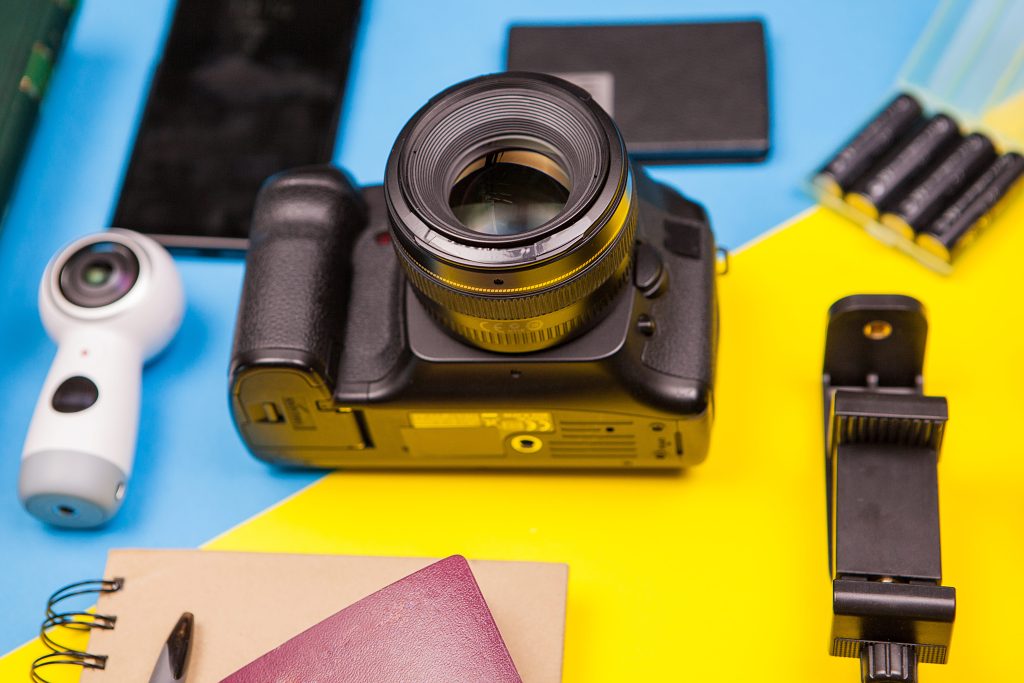
When you are starting, you don’t need to spend money to buy expensive equipment. A Basix DSRL or mirrorless camera with a standard lens can do wonders. If you are using a smartphone, ensure it has a high-quality camera and explore its manual setting for better control.
Here are a few key tips for setting:
- Shutter speed: pets rarely stay still, so a fast shutter speed, 1/500 or higher) is crucial to freeze motions
- Aperture: A wide aperture (Like f/2.8 or f/4) creates a beautiful blurred background
- ISO: adjust your ISO based on the lighting.in low light, don’t hesitate to increase ISO, but be mindful of noise.
- Focus mode: use continuous autofocus ( AL servo or Af-C) to keep moving pet’s sharp
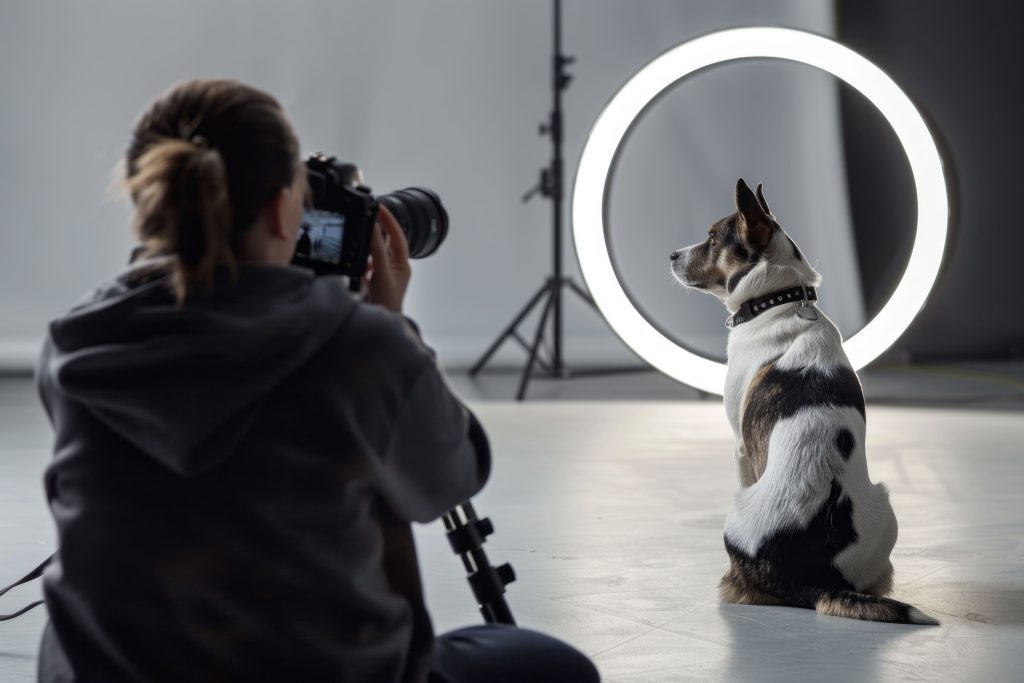
Natural light is the best friend in pet photography. Rtry to shoot outdoors during golden hours (early morning or late afternoon) or near large windows for soft even lighting. Avoid using a slash as it can startle pets and create harsh shadows.
Setting the Scene
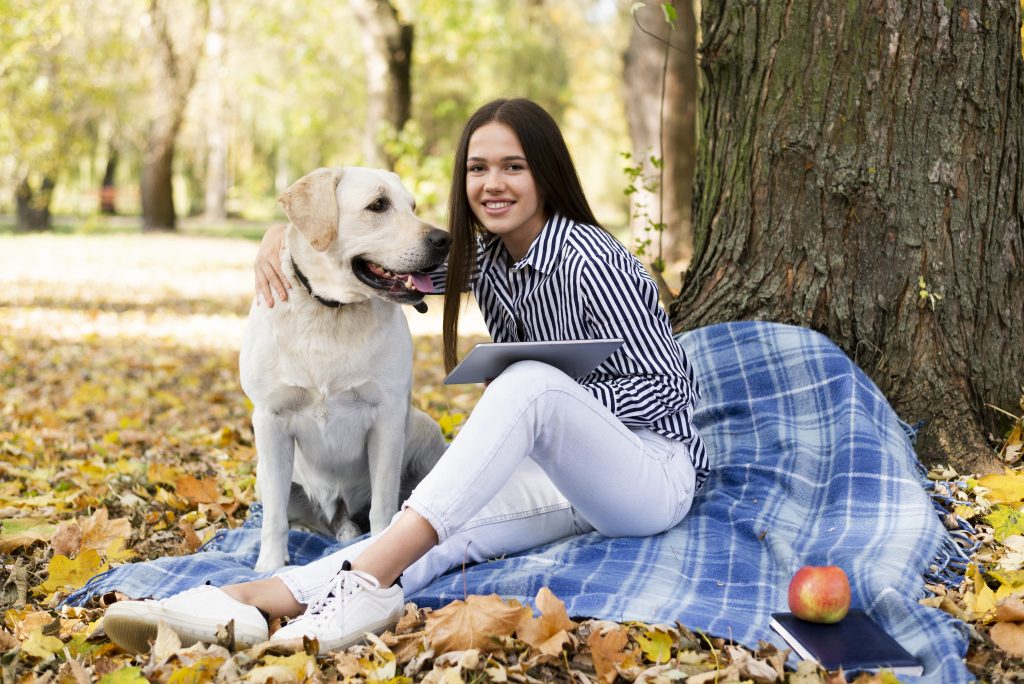
Every image background and setting plays a significant role in your photos. Those locations that are safe and familiar to the pet. A clutter-free environment ensures the focus remains on your subjects.
If you are shooting indoors, tidy up and see simple, neutral backgrounds. Outdoors, a park, garden, or beach can provide vibrant and dynamic settings. Consider incorporating props like toys, blankets, or seasonal decor to add personality and context to your shots.
Capturing the Pet’s Personality
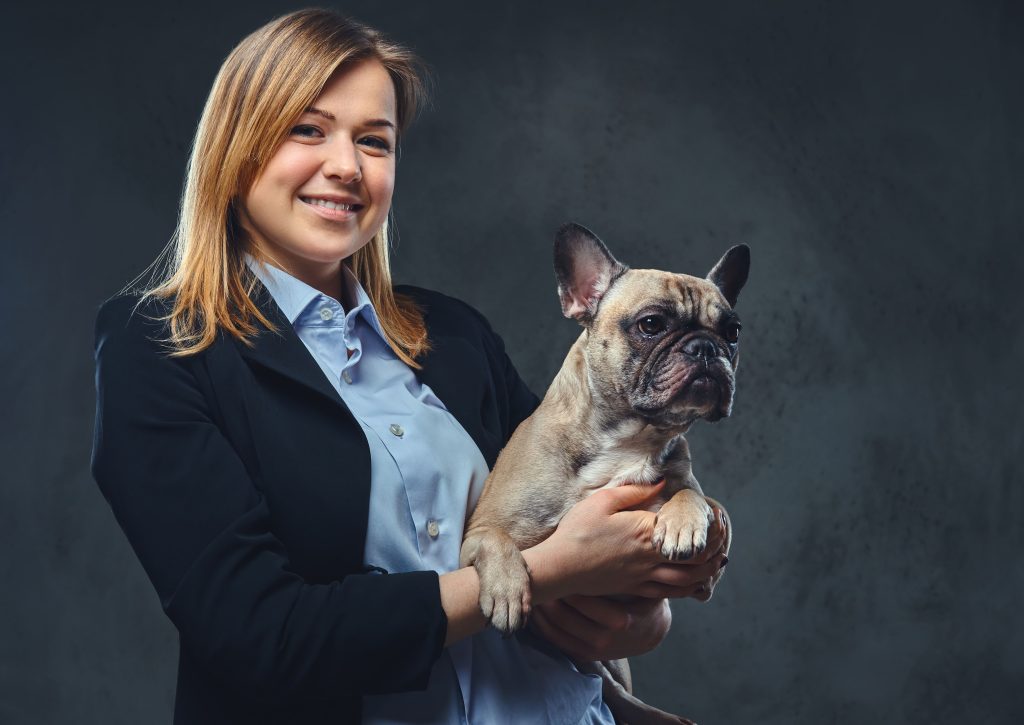
Every pet has a unique character, and your goal is to showcase it through your photos. To achieve this, interact with the pet during the shoot. Use their favorite treats, toys, or commands to grab their attention. High-pitched sounds or whistles can also work wonders in eliciting cute expressions like head titles.
Get down their level for more engaging shots. This perspective not only highlights the pet’s features but also creates a sense of intimacy. Experiments with angles, such as close-ups of their face, wide shots of them in their environment, or action shots of them playing
Prince is key. Pet’s don’t follow instructions like human models, so be prepared to wait for the perfect moment. Keep the sessions short and fun to avoid tiring or stressing the animal.
Editing: Enhancing Your Shots
Post-processing can elevate your photos to the next level. Basic editing software like Adobe Lightroom or free alternatives like Snapseed can help you adjust lighting, colors, and sharpness. Here are some quick editing tips:
- Adjust brightness and contrast to make the image pop.
- Correct any color casts, especially if you’ve shot under artificial lighting.
- Enhance the pet’s eyes by slightly increasing sharpness and clarity.
- Use a vignette effect to subtly draw focus to the pet.
Remember that, editing should enhance the natural beauty of the pet, not overshow it.
Common Challenges and Solutions

1. Uncooperative Pets
Some animals might be too energetic, shy, or nervous, in these cases, take a break and let the pet relax. Have the owner nearby to comfort them or use their favorite items to make them feel secure.
2. Motion Blur
If your photo goes into a blur, then check your shutter speed. Increasing it will help freeze motions. Additionally, ensure you are holding the camera steady or using a tripod.
3. Distracting Backgrounds
Before snapping a photo, scan the frame for distractions. You can either move the pet to a cleaner background or use a wide aperture to blur out unwanted details.
4. Poor Lighting
If natural light isn’t available, use soft artificial lighting like LED panels. Avoid direct overhead lighting, which can create unflattering shadows.
Tips for Success
- Build a bond with the pet before starting the shoot.
- Always prioritize the pet’s comfort and well-being.
- Use burst mode to capture a series of actions and pick the best shot later.
- Keep plenty of treats and toys handy.
Practice Makes Perfect
Like any skill, pet photography improves with practice. Experiments with different lighting conditions angles, and compositions. Study photos you admire and try to replicate their techniques. Over time, you will develop your unique style and approach/ don’t be discouraged if your initial shots and persistence, you will see remarkable progress.
Conclusion
Pet photography is a joyful art that combines creativity, technical skill, and a deep love for animals. As an engineer, focus on understanding your subjects. Mastering basic techniques, and creating a relaxed environment for the pet. Owners will treasure fit forever.
So, grab your camera, find a willing pet, and start shooting. The world of pet photography is full of adorable moments waiting to be captured.
Happy snapping